Cake pops are just so stinking cute! I was excited to finally get to try these, but my goodness – they are time consuming! It took us pretty much all day to get these done (this is not the only thing we were working on of course), but they were so worth it the next day at the wedding shower. To figure out how to make these I looked up tons of cake pop recipes and got a general consensus of how other people have made them, and then decided how to proceed. Through the process I definitely learned some things, so hopefully I can pass my tips along to others looking to make these awesome little treats.
Assembly Time: 4 hours
Yields: abt. 45 pops
Ingredients:
- 1 box gf cake mix [we like Betty Crocker]
- (50 ct) sucker sticks
- Frosting* [1.5 cups for the Betty Crocker/9×9 mix, -or- 2 cups for a 9×13 mix]
- 3-4 boxes Bakers chocolate – semi sweet or white chocolate {we had a power outage in the middle of cooking, which ruined the chocolate half way thru, so I’m not sure exactly how much we used!}
*Frosting – [canned is fine, I just like to make my own]
- 1 stick butter
- 1 tsp vanilla
- “splash” of milk
- powdered sugar
I’ll admit it. I never measure when making frosting. I melt one stick butter & add the vanilla and a splash of milk, then pour in powdered sugar until I get the thickness I’m going for. To get more frosting, I just add a small amount of milk and powdered sugar at a time.
Directions:
Bake cake(s) according to directions and let cool completely. Once cooled, crumble in large bowl – We stated by ripping off chunks then braking those down with forks. Stir frosting into cake crumbs and form into large ball – Refrigerate at least 30 minutes (the cooler they are, they easier they are to ball later).
After the mixture has cooled, it’s time to make the balls. We used generous tablespoon scoops to help keep our balls uniform and around 1″ each. While making these balls, melt a small amount of the baking chocolate in the microwave. Dip the ends of the sticks into the chocolate and push them 1/2 – 2/3 the way into the balls.* Then place in the freezer for at least an hour.
*{So to interject a story into these directions… When we made our cake balls we froze the balls without sticks in them first and then added the sticks just before coating them in baking chocolate. This had to be done quickly, because if they got too hot they sometimes came apart or looked sloppy. Well when we were 2/3 the way done we had a power outage… for 2 hours! (that was splendid) So what I did when the power was out was to just add the sticks to the remaining balls w/o covering them and then put them all back in the freezer (which had no power either, but hey I tried). Later that night when the power came back on, we started over with fresh chocolate for the remaining pops. Let me just say it was SO MUCH EASIER to dip the balls with the sticks frozen inside of them. and they looked better too! All of that story to explain why it’s helpful to add the sticks before the freezing stage instead of after :)}

After the cake pops have been freezing for about an hour(+), melt your chocolate in a double boiler. If you don’t have a double boiler, get one – they are awesome. But seriously, you can use the microwave or a regular pan if you must, it’s just harder to keep the chocolate smooth and creamy without a double boiler. When the chocolate is completely melted, remove the cake pops from the freezer and lay out fresh parchment [wax] paper. Next dip the cake pop in the melted chocolate, and tap the stick gently over the pan while rotating to remove excess chocolate – this will prevent the chocolate from pooling around the cake pop when you lay it down to harden. {if you aren’t going to display your pops laying down, place your pops in whatever display you have while they harden so they don’t get a flat side.}
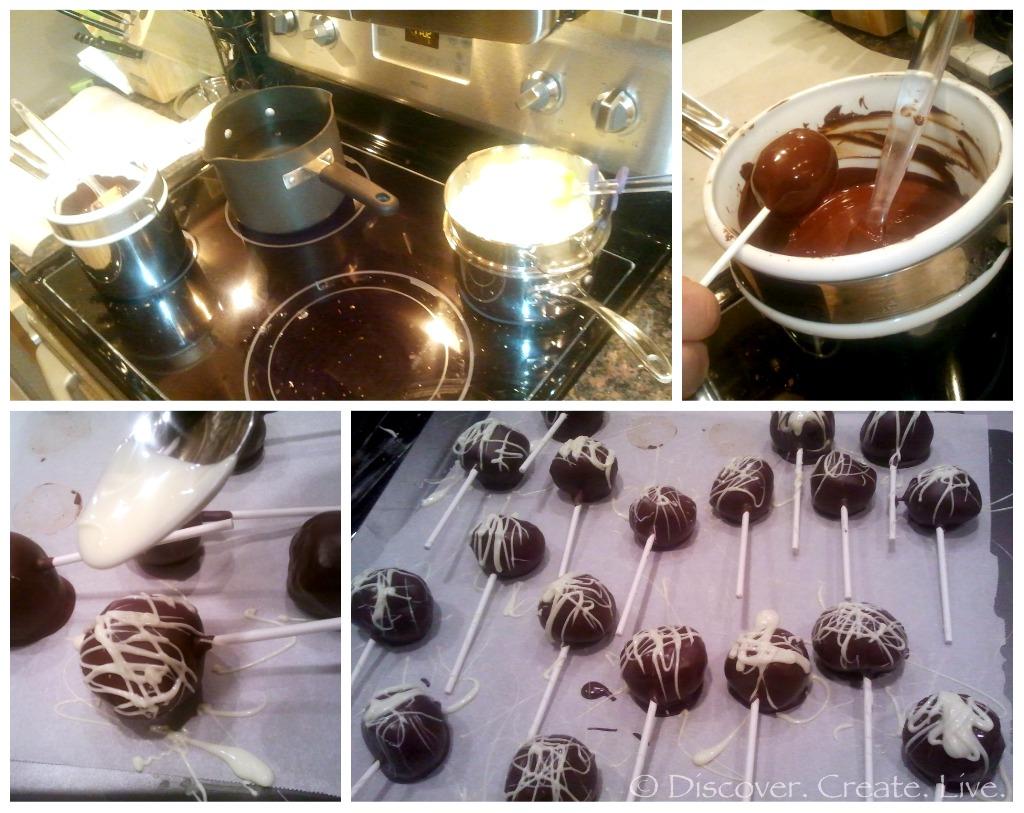
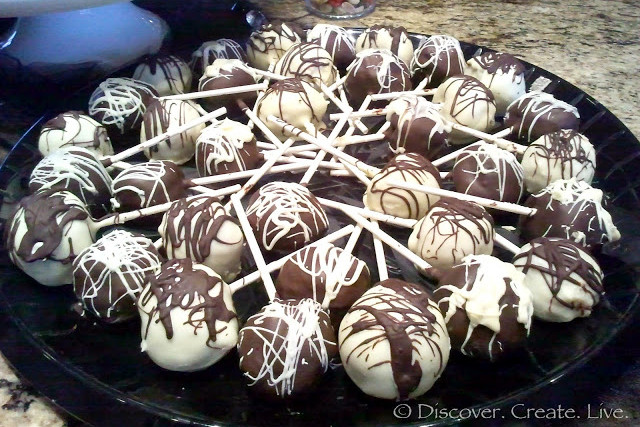
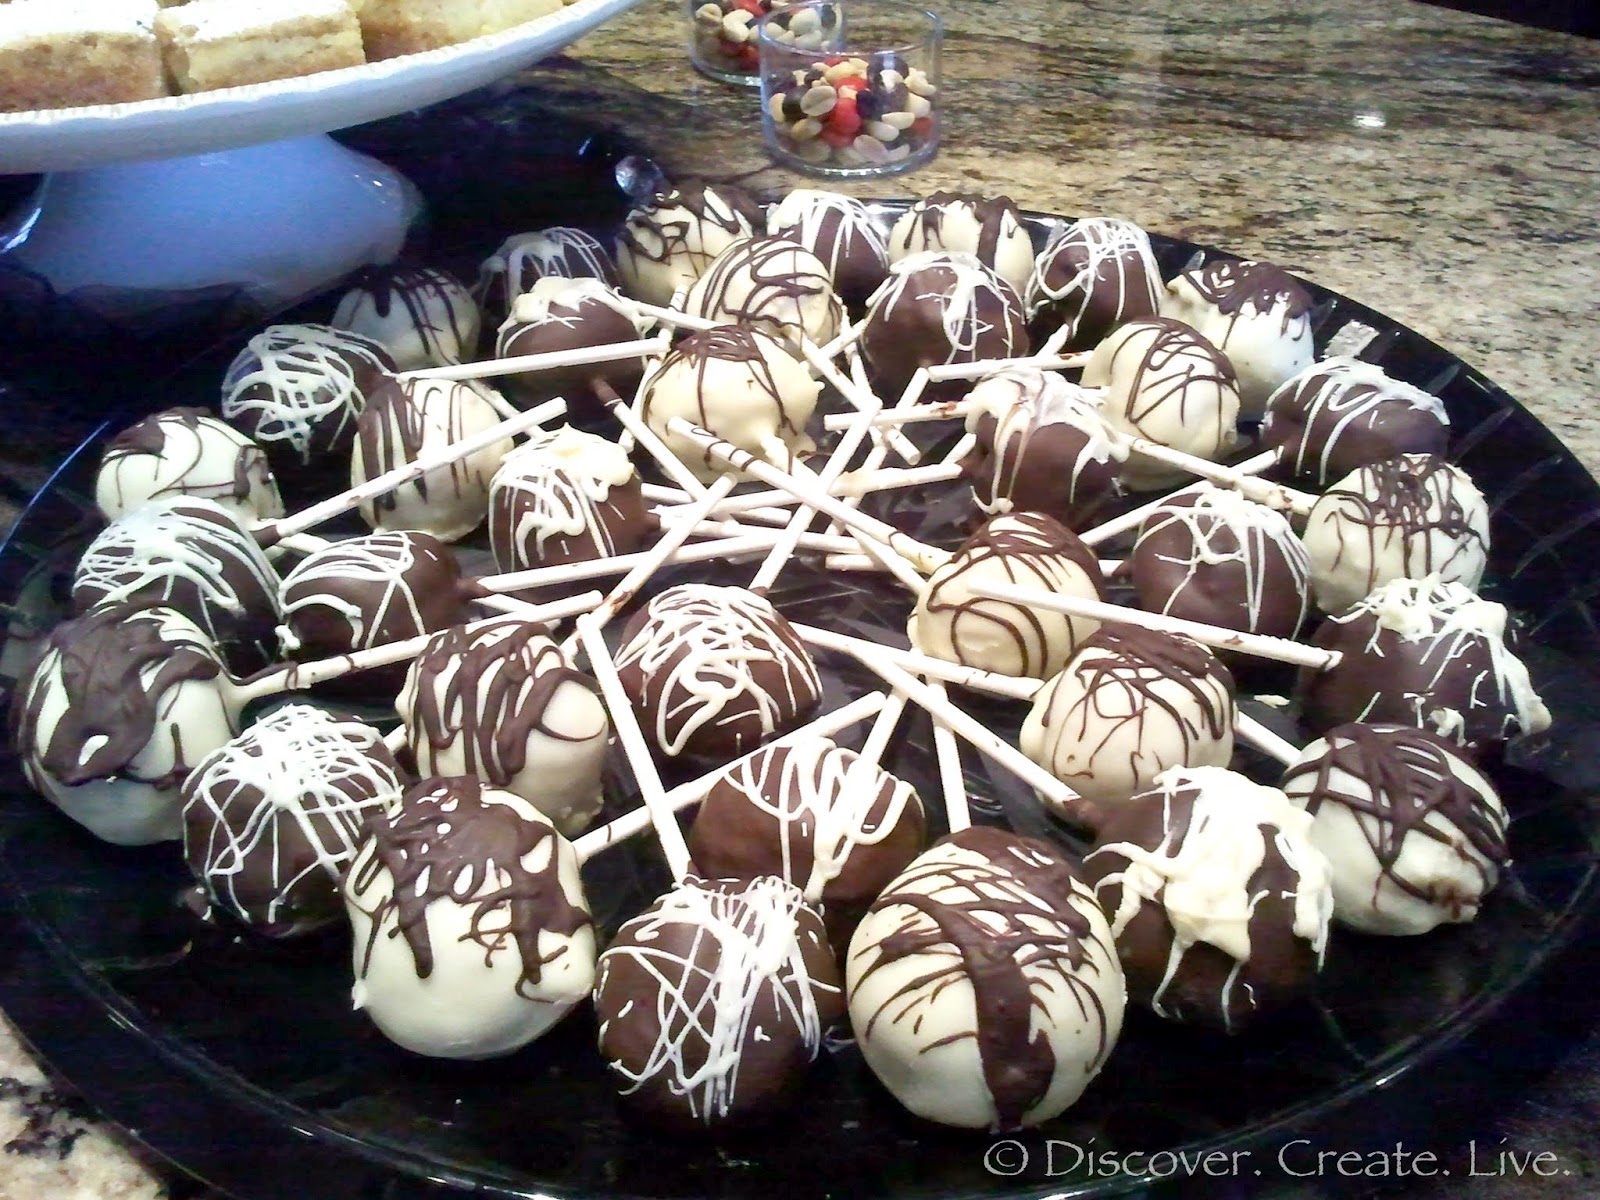
Finally, decoration can be added if desired. Since we were using two different chocolates we just drizzled the opposite color on the pops (technically it was more of a fast shaking of the spoon, but you get the idea) after the shell hardened. If you want to add sprinkles it would probably be best right after dipping the cake pop so that they stick. We then put our cake pops back in the fridge to make sure they were completely firm before arranging. We went with a circular display for the Shower, but there are LOTS of other cute ways of arranging these things!
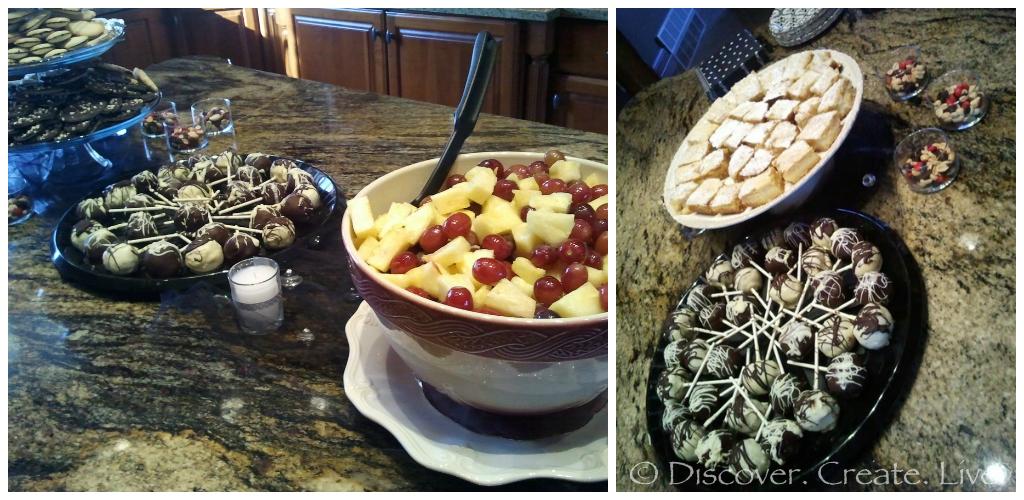 |
| We ended up with 2 displays – we found the trays at Party Supply for $3 each |
Overall, I was pretty happy with the end result (for my first attempt anyways) They weren’t quite as “clean” looking as I had hoped, probably in part due to drying flat instead of upright. Anyone else have experience with these things or any tips/suggestions for me? I would love to hear about some different ways of doing this. 🙂
I love cake pops! A friend of mine made these once and they were DELISH! mmm mmm… Love your blog! I'm sharing it!
~Lisha at 1House1Couple
Thank you 🙂 Yes cake pops seem to be getting more & more popular… which makes sense since they're cute AND delicious.