After the texturing was completed, we could finally paint! We had spent a lot of time figuring out our colors, so it was super satisfying to see it all starting to come together!
 |
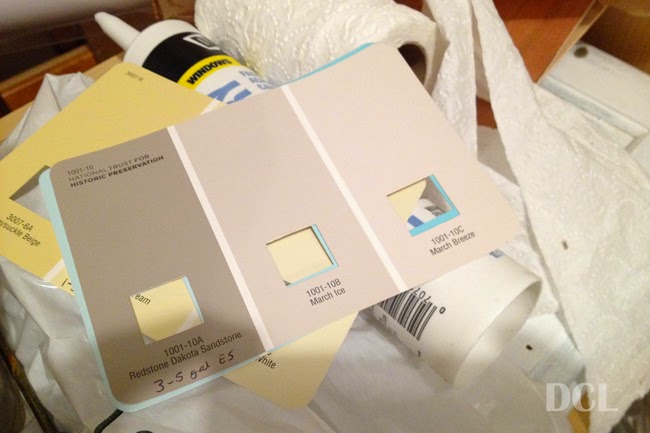
our paint samples – kind of hard to see, but we went with 3 main colors
|
 |
| we’re always looking for a deal, and I was so happy to find some quality paint on sale… plus a 10% off coupon! |
 |
| we used one, 5-gallon bucket of paint to apply two coats of yellow in the girls’ rooms {my grandma Alice did the edging, while my brother josh rolled the walls} |
 |
| we only needed a gallon to cover the upper 2/3 of the kids’ bathroom! |
 |
| the rest of the house was covered in this wonderful “warm-gray” color – so in love with the results! |
Oh yeah, and we also had to paint all the trim for the house. We were going to reuse the original trim, but my dad had a ton left over from when they built their house. We ended up having to purchase a little more, but we found a great deal on it and love the result. We spread the trim out in all three bedrooms and the living room, and still had to do it in a couple of phases! We used the same deglosser we put on our kitchen cabinets, only this time we used Valspar’s Signature Paint & Primer. Love that stuff!
 |
| James applying the deglosser to the stained trim |
 |
| Thankfully the unfinished trim didn’t need to be deglossed! We used this trim for doors & windows |
|
 |
| This is technically baseboard, but we used it as window sills |
|
 |
| I took this picture because of the light repair, but it also shows off our finished living room & trim ready to be installed. Oh and that’s my dad checkin on the progress 🙂 |