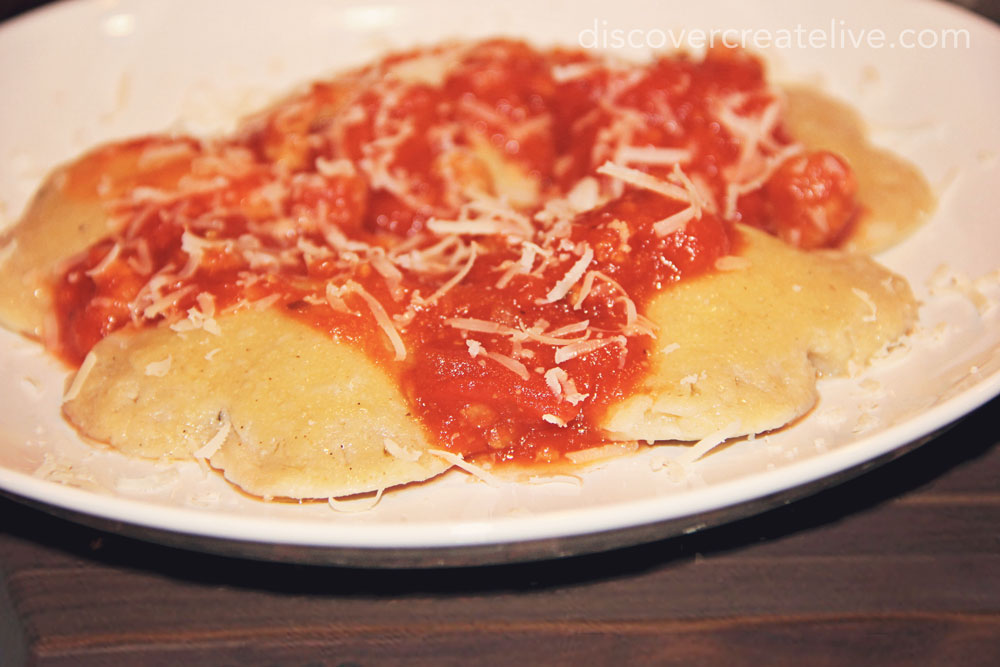
After weeks of seeing cute heart shaped foods all over the internet, I knew I had to whip up some of my own for Valentine’s Day! I decided to go with ravioli, and I love how it turned out! The process definitely takes some time, but it was super fun and so worth it.
[yumprint-recipe id=’14’]
Because there was no room for meat in the filling, we topped our ravioli with a meaty tomato sauce and it was perfect!
Pin for later –>


I would have never thought about actually making ravioli. What a good idea! You could really make them in any shape. Did you you the GF Betty Crocker mix for the brownies?
It was super fun! Yes – the Betty Crocker brownie mix is by far my favorite option. I suppose I should learn how to make some good ones homemade – but y mess with perfection? 😛
How fun Kate 🙂 The heart-shaped ravioli looks so pretty. It looks like you had a great Valentines Day!!
I am IMPRESSED my friend!! That looks so dang good! I don't think I could ever do that though 🙂
Jenna
We sure did!
aww thanks 🙂 – I'm sure you could! I was actually surprised at how relatively easy they were to assemble… the "hard" part is really how long it takes.
Oh man, look at you go! These are adorable – and look delicious!
They were pretty darn good… I think they would have been better if I would have used ricotta though – next time!
What a great idea for V-Day! They look both cute and delish!
Thanks! it was perfect 🙂
The ravioli look delicious! And I've never seen anyone make it GF at home! We usually make the GF Panty brownies and those are delicious, we haven't tried Betty Crocker though.
I also stopped to read your bio and my mother in law and sister in law both have Celiac, so I'm pretty familiar with the diet. Our chances of having a daughter with Celiac are pretty high as well, but we dont have children yet. I'm so glad you stopped by my blog so I can get new ideas for dishes to share with my family that are GF!
well I'm glad we found each other! 🙂 We love Betty Crocker cake & brownie mixes, but since they're about $5 each we don't have them that often – definitely worth it when we do! {and they're at target so we don't have to make a special trip to get them :)}